Setting up Path Aliases in React Native
A great way to simplify your coding experience
🚀 Software Engineer | Problem-Solving Enthusiast 💡 | Deep Thinker 🧠 | Passionate Learner 📚 | Turning code into solutions, one algorithm at a time. #Techie
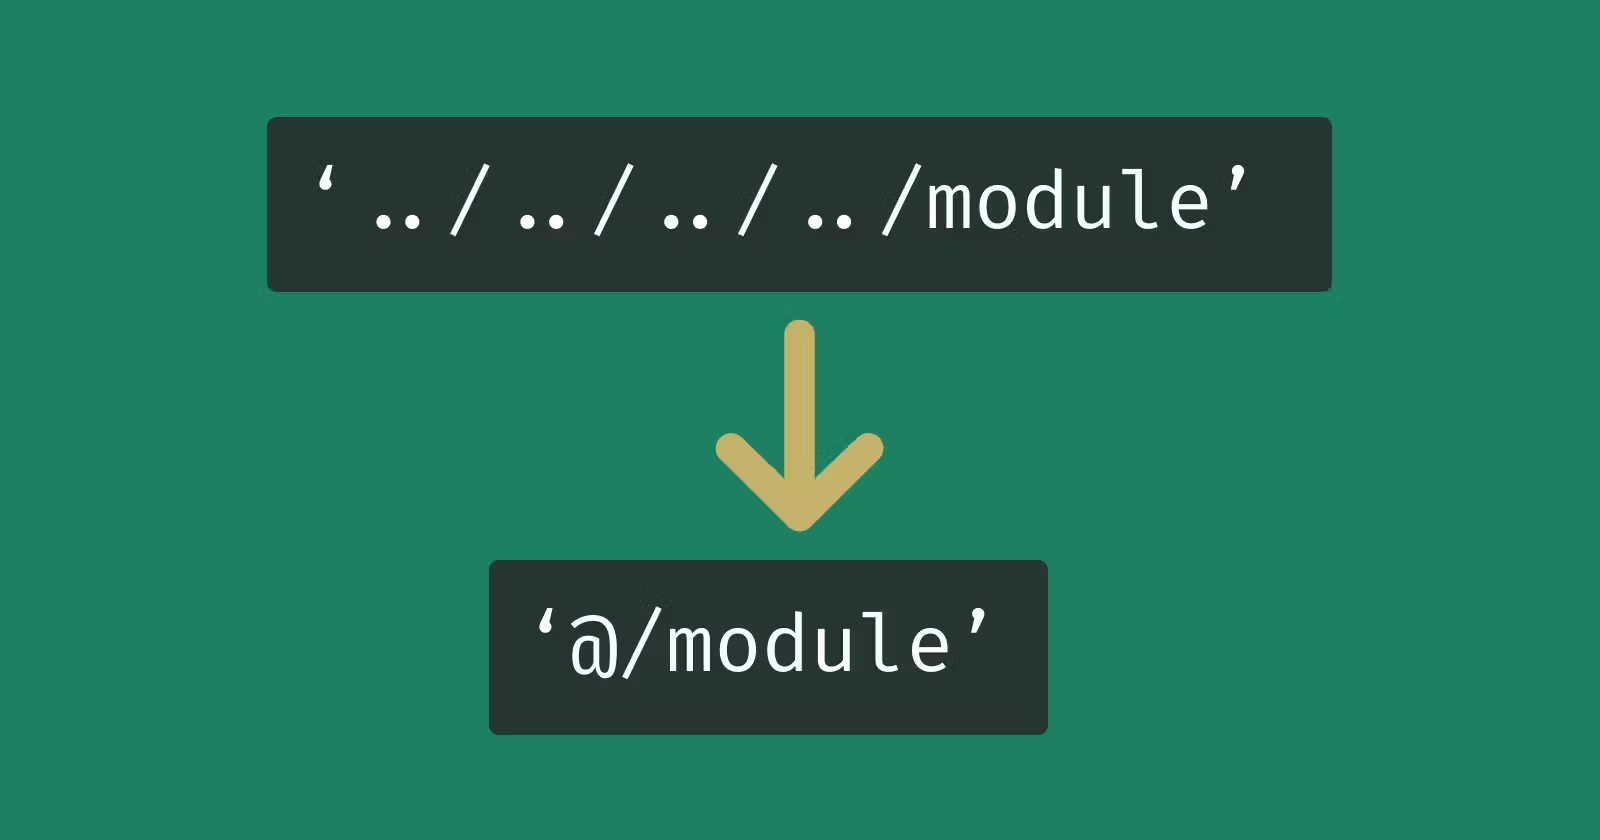
Navigating the directory tree in any sizable software project can often feel like journeying through an intricate maze. The deeper you go, the more convoluted your import statements become, turning your neat code into a muddled mishmash of relative paths.
But what if there was a way to streamline this process, making your code more readable, manageable, and efficient? Enter the magic of 'Path Aliases'.
With path aliases, you can say goodbye to complex relative paths, and hello to an easier, more comprehensible coding experience.
A path alias is essentially a shortcut or a simpler name that points to a specific and often more complex directory path in your project.

Let's have a look into setting up path aliases in React Native using both expo-cli and react-native-cli.
As an example, we will set up path aliases for the src/ directory in our projects which will be referred by @/ path alias.
Setting up path aliases in TypeScript (optional)
If you're using TypeScript in your React Native project, then you will need to define aliases in the tsconfig.json file within the paths object inside the compilerOptions object.
This is to allow TypeScript to recognize the path alias.
You can include like this:
{
    "compilerOptions": {
        "baseUrl": "./", // This must be specified if "paths" is specified.
        "paths": {
            "@/*": ["src/*"]
            // You can define as many aliases as you want.
        }
        // Other compiler options...
    }
}
Using Expo CLI
If you are using TypeScript, there's no additional setup required as expo manages path aliases described in tsconfig.json under the hood.
If you are not using TypeScript, you need to configure it the same way as you would with the React Native CLI.
Using React Native CLI
Although TypeScript understands these aliases, metro-bundler in react native does not, especially if they work with JavaScript.
So we need to synchronize our TypeScript aliases with JavaScript. This can be achieved by configuring Babel.
First, install the package babel-plugin-module-resolver:
npm install --save-dev babel-plugin-module-resolver
Or if you use yarn:
yarn add --dev babel-plugin-module-resolver
Then, you need to set up the plugin in your .babelrc file (or wherever you have your Babel configuration):
{
    "plugins": [
        ["module-resolver", {
            "alias": {
                "@": "./src",
                // You can define as many aliases as you want.
            }
        }],
        // Other babel plugins...
    ]
}
Ensure the aliases match what you have in tsconfig.json.
Use Your Aliases
Now, you're ready to use the aliases! For example, if you have a module at src/nested/folder/module.ts, you can import it like this:
import module from '@/nested/folder/module.ts';
Now you can import modules in a much cleaner and maintainable way across any of the files. Say goodbye to ../../../../ in your import statements!
Remember to make sure that your alias paths are correct, and to keep your Babel and TypeScript configurations synchronized to avoid any unexpected behaviour.
Happy coding!